Getting to know the magnetic whiteboard
26/10/2024
5 Important Things to Know About Whiteboard Erasers
29/10/2025Whiteboard Installation + Video Installation Tutorial
It must have happened to you that you bought a product; But don’t know how to install it. In this case, you will probably contact the support of the manufacturer and ask for an installer. Of course, this is not true for the whiteboard and you may have to install the whiteboard yourself. But where should we install the whiteboard and how should we do this?
Whiteboard Installation Tutorial
With the problems caused by chalkboards, whiteboards have become one of the necessary teaching aids in every educational institution. But this product is one of the products that after buying it, you may not receive installation support and you have to install the whiteboard yourself. So it is better to know how to install it.

Where Should We Install the Whiteboard?
Whiteboards are used in homes for various reasons, we may use them for online teaching, planning, studying, or playing for children. Therefore, the place of installation of the board should be in the crosshairs of our eyes. It is better to install the whiteboard at home on a wall that has an empty wall in front of it, so that we can master the whole page from the front and read the writings on the board better.
But if you use a whiteboard in school and class, you need to follow the whiteboard installation standards, some of which we have mentioned below:
1-Due to the reflection of light on the whiteboard and the classroom board in general, there are important rules in its installation; For example, the light should never shine on the board from behind the students’ heads, or that the whiteboard should be installed on the left side of the window (in other words, the light should shine on the board from the left side of the students).
2-The distance of the bottom edge of the white board from the floor of the room should be proportional to the height of the students. Which is usually 70 cm for first graders and 80 cm for other graders.
Whiteboard Installation
Here are some steps:
1-Installing a whiteboard does not require special skills, but depending on the dimensions you have chosen for your whiteboard, you may need to get help from others.
2-To install the whiteboard on the home wall or even the classroom wall at school, consider a certain height based on the standards for installation and mark it with a pencil.
3-Then mark the dimensions of the whiteboard you have on the wall and mark the location of the four corners of the whiteboard on the wall.
4-Measure the location of the nail (plate roll, hanger, etc.) from the whiteboard (for example: the place where the nail is installed is 4 cm from the top side and 4 cm from the side of the white board), now put the same coordinates on the wall that Check mark. This will help you know the exact location of the nail or plate roll.
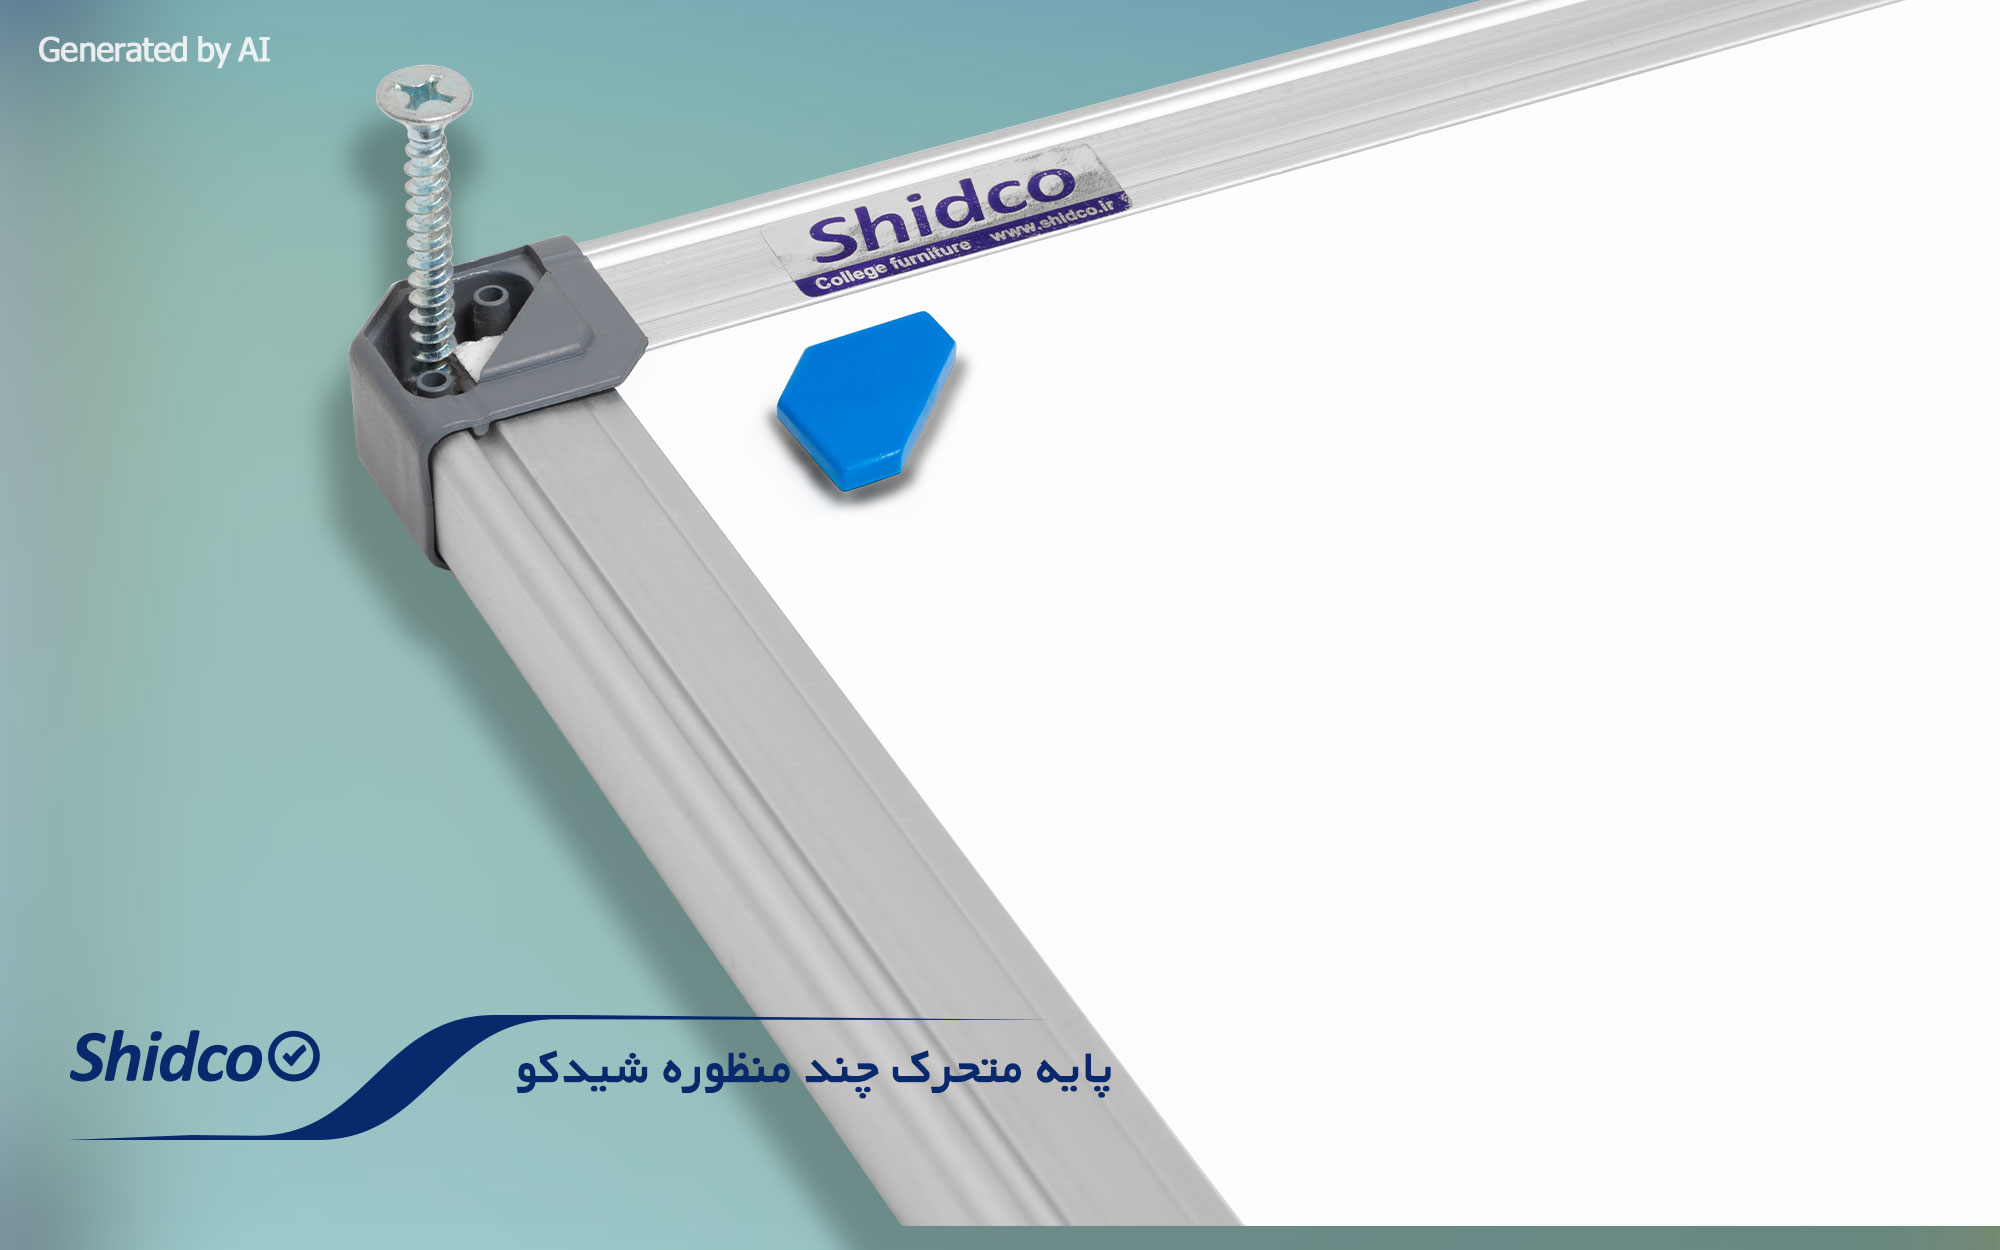
5-If you have a heavy whiteboard, use a roll plate. Otherwise, you can nail it to the wall and hang the whiteboard. Of course, in the corner of some types of whiteboards, there is a place for installing screws from where you can install the board.
6-You can use a level to make sure the whiteboard is not tilted.
The blackboard must be firmly installed in its place, so that it does not move back and forth while writing, and does not make loud noises.
Installing a Whiteboard With a Stand
Buying a stand for a whiteboard will help you to have more diverse uses of it. These bases can be used for any type of whiteboard of any size and you can easily move it with the help of the wheels they have.
Installing and assembling these bases is not a difficult task, just follow the steps mentioned inside the catalog. Or ask the seller how to install it. Installing and assembling these bases is not a difficult task, just follow the steps mentioned inside the catalog. Or ask the seller how to install it. Of course, if you still don’t know how to install the whiteboard base, this clip will probably help you a lot:

The Steps of Installing a Whiteboard with a Stand
1-Before doing the steps, pay attention that the Shidco logo is facing you when installing all Shidco parts.
2-First of all, we start by closing the main legs: first, we loosen the Allen screws that are attached to the wheel bar. Then we put the vertical base on the wheel bar and fasten it together with screws.
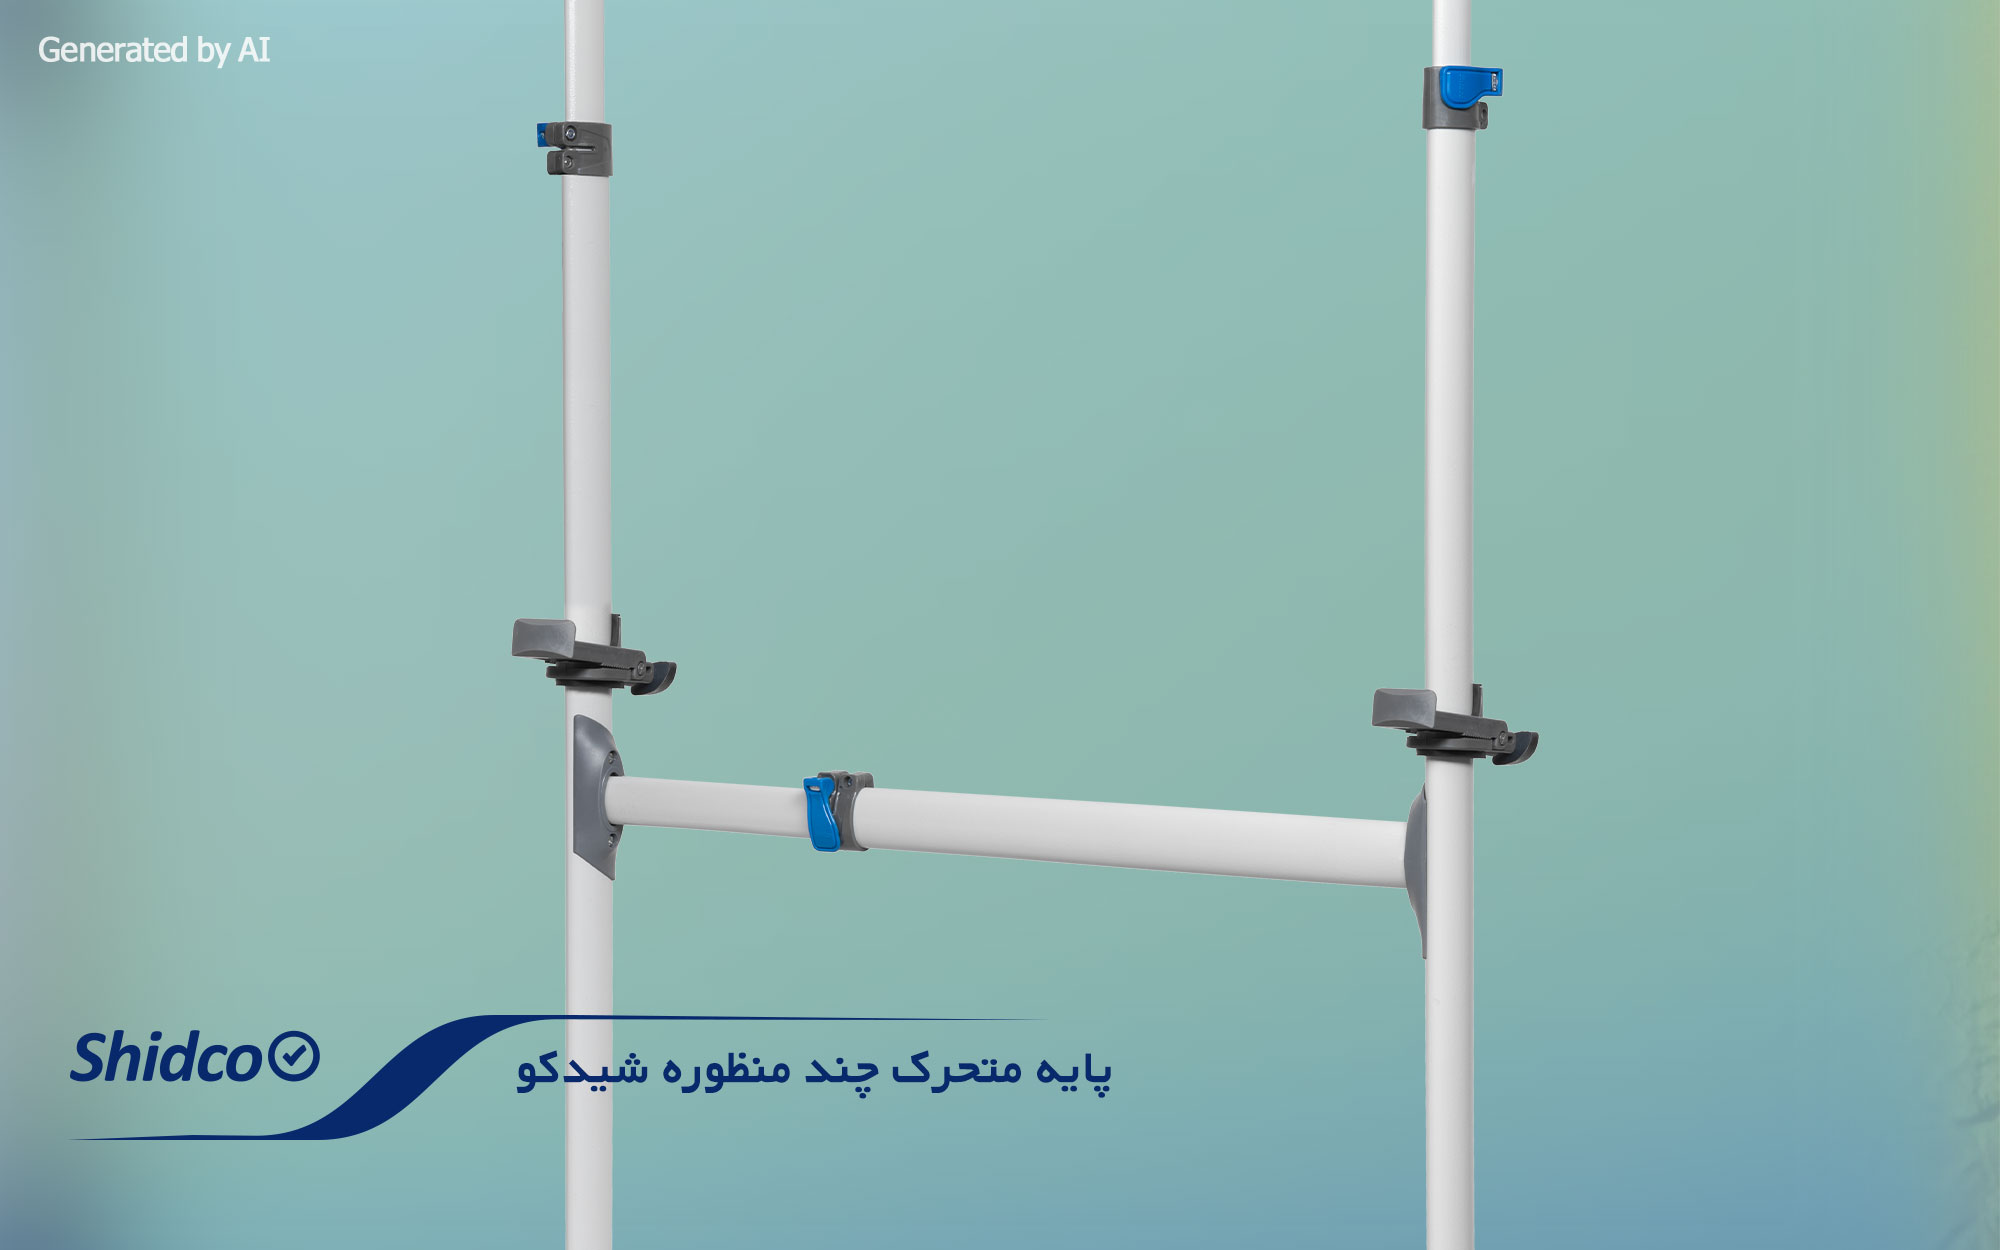
3-In order to connect the two main bases together, we connect them with middle bars. We presented the base in the previous step; Here, we only need to screw two middle bars to it.
4-We do the same with the other base; That is, we connect the middle rod to the base.
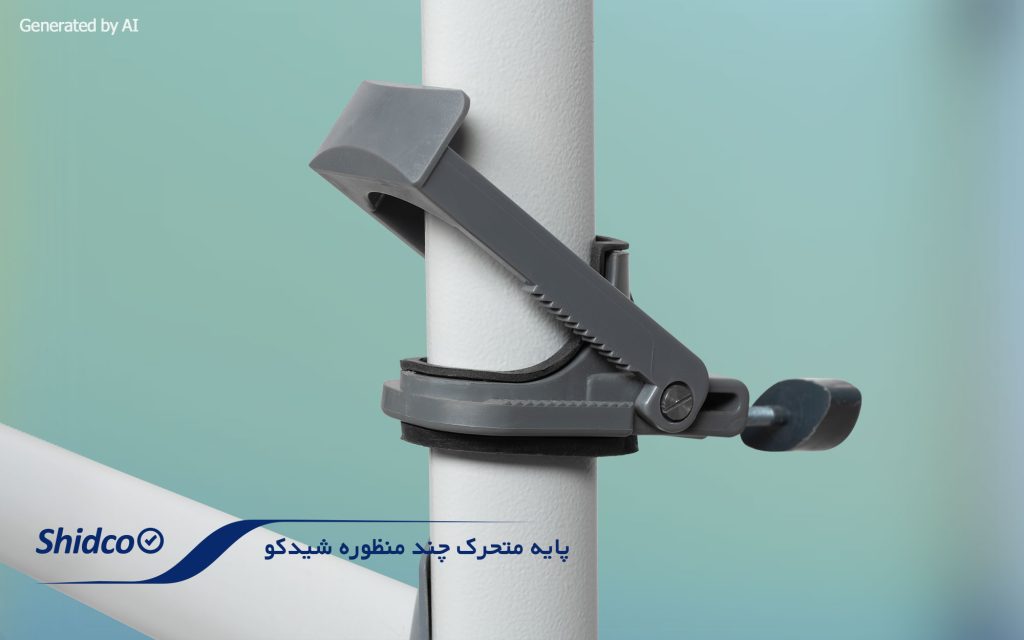
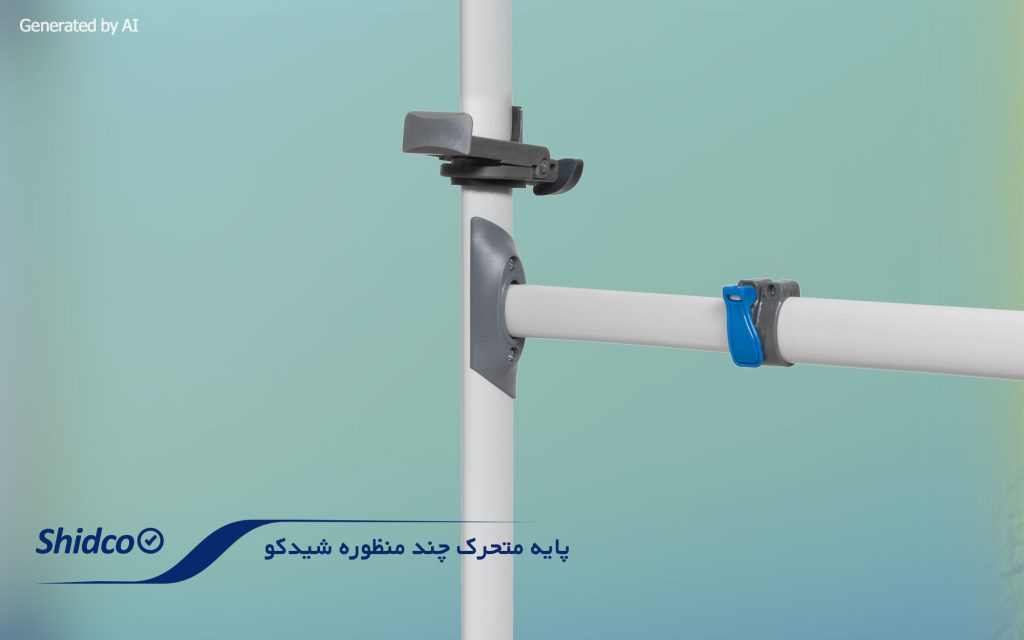
5-You have probably seen adjustment clamps on the middle bars or vertical bars. These clamps help you to change the length of the rod.
Each rod has a smaller rod inside it, which you can move and extend the length of the rod by opening the clamp.
Depending on the brand you buy, the bases are adjustable. The better the quality of the product, the more it can be changed according to your needs. Therefore, it is necessary to have length adjustment clamps for all rods.
If you want to place different sizes of whiteboard on these stands, just open the clamp of the middle bar and increase its length.
Shidco Whiteboard and Whiteboard Base
Many things are important in buying a whiteboard with a stand; Such as the quality of the wheels, the strength of the materials used in the bases to keep the whiteboard, etc. If you want to buy a quality product that will work for you for years, be sure to go to reputable brands in this field.
One of these brands is Shidco, whose history of several decades of producing whiteboards has made this company’s products a well-known and reliable brand in the country.
What Is the Reason for the Quality of Shidco Products?
Benefiting from the expert and skilled team in Shidco company, which has made the satisfaction of the users of this company’s products a priority. Therefore, this company uses the best material in the production of its whiteboards: Imported galvanized sheet is used in the manufacture of whiteboards, which is very resistant to multiple uses and offers uniform color and good erasability. On the other hand, the panels of these panels are made of aluminum in any model and any size, which are anti-scratch with their furnace color. These shelves have a modern and stylish design and a part to hide the installation screw in its square. In order to increase the shelf life of the panels, Shidco company has used a metal sheet on the back of them, which prevents moisture from reaching the MDF sheet and prevents it from becoming wavy. Shidco’s wheeled movable base is also produced from a very strong profile with a charcoal color, whose tilt adjustment screws are very strong and help to stabilize the board in any slope. The movable base wheels are made of high-quality compressed plastic, which can be locked and fixed in the desired location. It is very easy to install the whiteboard on the mobile stand.
Conclusion
If you are worried about installing the board or if you don’t have a place to install it, don’t worry. By choosing and buying one of Shidco’s white board models in the dimensions you want, you can ask the experts of this company for the installation method. If you are planning to buy a mobile stand to place your whiteboard, be sure that assembling this stand to install the board is much easier than you think. Shidco company experts will guide you in all steps. So, take action today to get advice and buy Shidco products.


